Categories
Mid 19th Century Wargaming wargame rules wargaming

Buildings Blast 2: Joe Morschauser – no grids

The Second battle using my “Buildings Blast” set up saw a mid 19th century action with Austrians and Piedmontese in play. It was a solo play this time.

I used the rules published by John Curry and the “history of wargaming project” with some adaption for solo play.

Using Neil Thomas grading of troops I adjusted the firing and melee rules.

I also used the Roster system unaltered. Infantry got 4 circles and a cross while Artillery got just 2 circles in this game. Essentially in the basic game a hit meant a unit (= 1 base) was destroyed. Roster rules gave units/bases lives in the form of circles and crosses on the roster which you ticked off as they were lost.

The Scenario was that the Austrians were retreating and the force here was ordered to hold the bridge in the town. The crossing was one of only a few that allowed artillery and logistics easy crossing of the river. The Piedmontese advancing from the north west had orders to seize the bridge as quickly as possible.

Forces were randomly assigned using playing card allocations along with a portion of blank entries
Units deployed in contact and units were recognised as such at about 6 inches – the card only turned on a 2-6 D6. Here the right hand Piedmontese were certain nothing was in front of them – a heart was a dummy card while the left hand unit was not so sure so hesitated (on a d1) with no card turn.
The right hand units poured forward towards the “old millhouse” spotting some real Austrian defenders
The lefthand Piedmontese units were suddenly exposed to Austrian infantry fire from a slightly sunken road
on the east side of the main road two piedmontese artillery batteries dropped into action again to be surprised by enemy troops in a slightly sunken and walled road. These were riflemen and on good form – one battery was quickly silenced
However infantry units (white coated British Legion 1860) quickly drove them away
fierce fire was exchanged between the Bersaglieri and Austrians in the sunken road while Garibaldeans stormed the defended houses at the entrance to the town
On the east side 1859 Piedmontese infantry stormed the defended houses
Elsewhere Piedmontese forces had pushed on meeting little resistance (= dummy cards) to their front. A lone Austrian Artillery battery on the west side of town faces artillery and some more Bersaglieri
Stubborn resistance at the Old Millhouse
Finally the sunken road defenders are driven off
And the west side Austrian defenders give up rather too quickly
exchange of fire results in another Austrian loss
Even as west side Austrian defenders gather but………
The Piedmontese quickly move towards their target – the river crossing. Another Artillery Battery blocks their way
On the west side the Austrian defenders put up a good defence and with support nearby………
The defended houses at the north end of town finally are overrun
The mill house and its defenders are abandoned by the Austrians who can retreat
Austrian artillerists put up a stern defence
Crunch time at the town square as the Austrians are hemmed in
The Bersaglieri try to rush the Artillery
The Town centre defence collapses
The Bersaglieri inexplicably turned tail on the west side while Lancers arrive to their rear. The British Legion finish off the town centre defenders on the left picture
The Artillery of Piedmont watch as the last Austrian defenders in the town square are defeated
The defended westside town square buildings are assaulted
in a last desparate throw Austrian Hussars ride up the main street to halt the Piedmontese tide.
The Hussars beat off the Lancers but to their rear the Artillerists are finally beaten while the East side is alive with Piedmontese. Everywhere Austrian defenders have melted away into the fields or across the bridge.
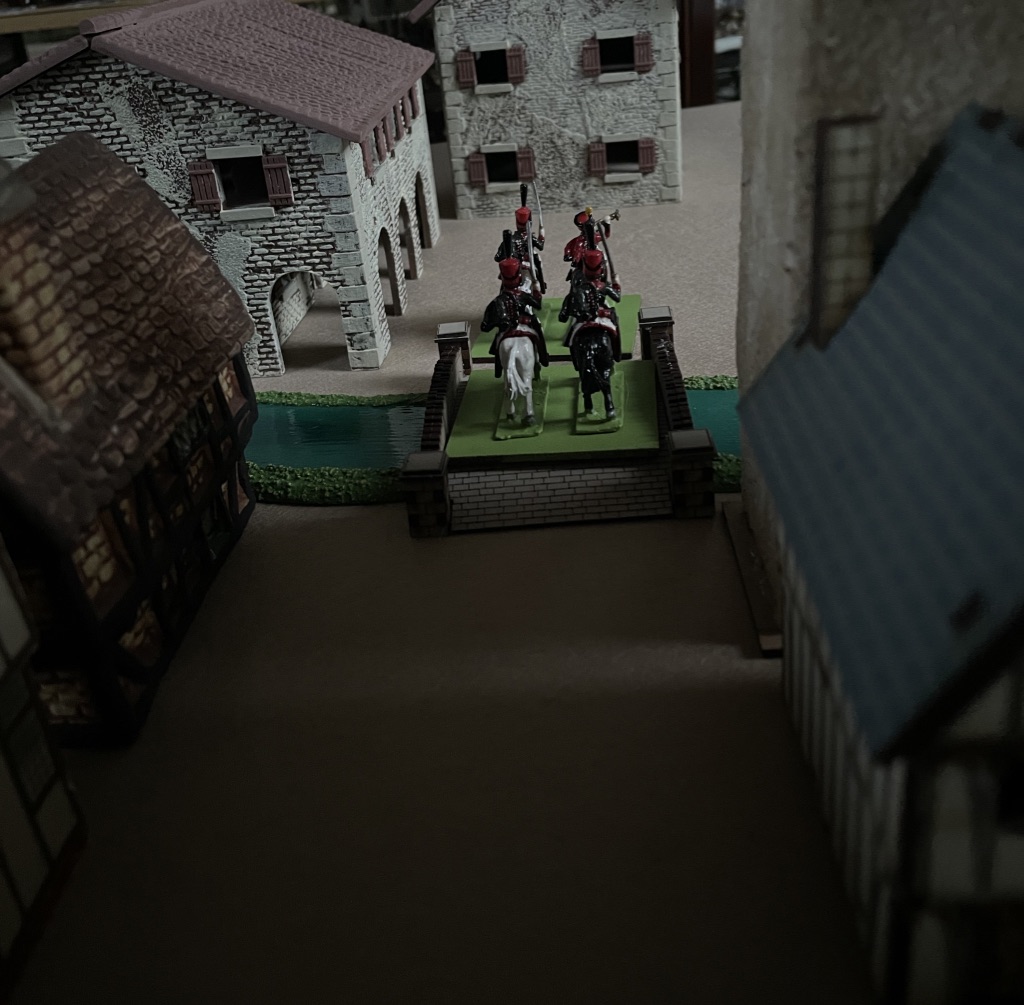
The Hussars beat a retreat across the bridge bringing to an end the defence of the bridge
Piedmontese Lancers cautiously follow.

The defended buildings were randomly determined and contained one unit each – no other benefits were given the building defenders. So they simply were a delaying factor assisting the mobile defenders fighting outside.

The scenario I played used a 25 step countdown and 1xd6 reduction per turn. The Austrians had to retire at countdown 16 from the edge of town, 7 – the town square and at 0 abandon the north river bank. Victory to Piedmont required they took the bridge before the countdown reached 0.

The game turns 1 to 3 were spent on the edge of town, then turns 4, 5 and 6 fighting over the town square. Turn 7 forced the Austrians back to the north bank but here ended the action as the Austrians actually ran out of defenders.

So the victorious Piedmontese captured the bridge intact and within the timescale set. There were no Austrian Engineers with a lit fuse to spoil their day! Anyway the Austrians would be back soon enough they thought…. Do I hear a Radetzky March in the distance?

For a very old ruleset Joe Morschauser’s rules played easy as I guess you would expect. With the tweaks to aid solo play they actually played very well.

I had bought the rule book for the Grid rules both the originals and Bob Cordery’s modernised version – Bob co edited the book with John Curry.

So this was a pleasant surprise to find a very playable set of “measurement based” rules into the bargain.